Homemade Cheez-its | Annapolis, MD Photographer
Filed away in:
(I’m not a food blogger.)
But. I kinda want to be.
Okay, if you’ve been following me on Instagram for a while, you know that I am not a food stylist or photographer (or blogger), but that I do love to cook. When I made these homemade cheese crackers a few weeks ago on my Instagram stories, I got a TON of questions. So – rather than ya know – blog photography sessions like I should probably be doing, I decided to blog the crackers. (Gotta start somewhere right?)
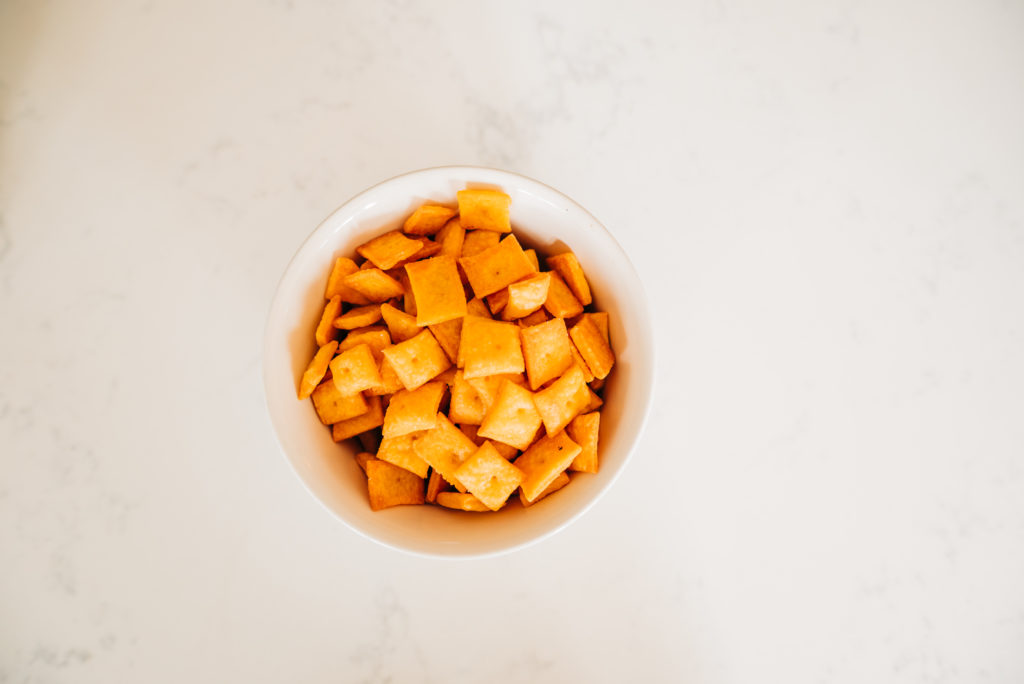
Cheez-Its are the best cheese cracker out there (fight me). I love their saltiness, their size, and their flavor; and if there is a box in this house it never lasts more than a day (hence I don’t buy them often).

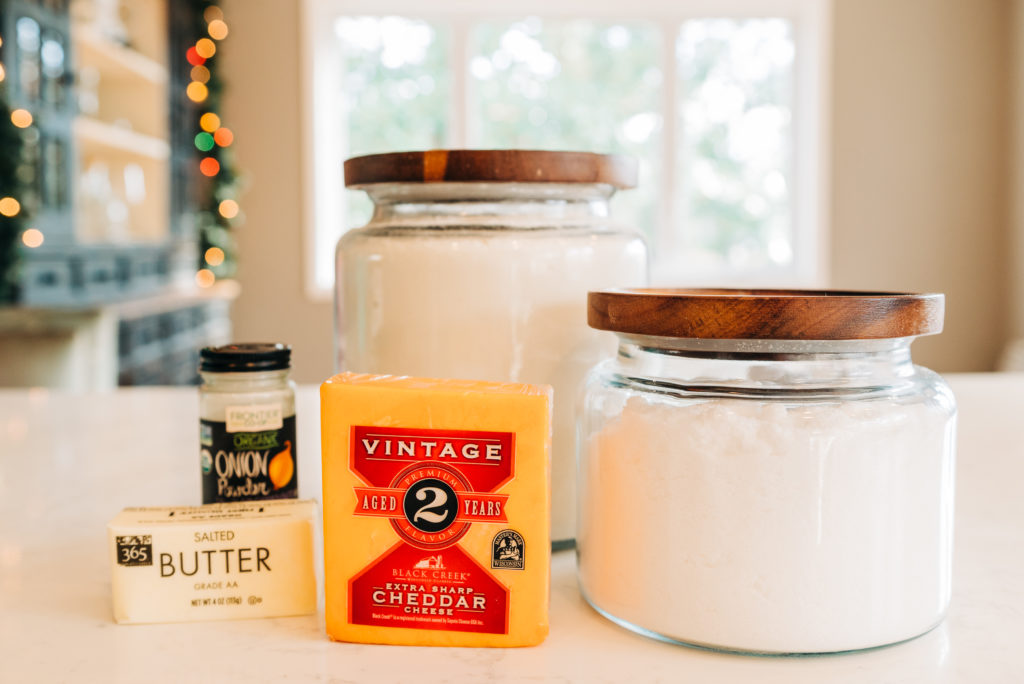
When a friend mentioned that she would be making homemade Cheez-Its over the holidays, I decided that I, too, needed to do this. I was worried it would be difficult and messy, but the best thing about them is that they’re so simple! Only 6 ingredients (I forgot to put the milk in the photo -whoops!), just a handful of dishes, and about 35 minutes start to finish.
I set to googling cheese crackers, and this recipe is what I came up with after mashing together a few different food blogger adaptations of the Lee Brothers’ Cheese Straws. Now that I have a few batches under my belt, I’ll share what worked for me! (Recipe is below).
Notes:
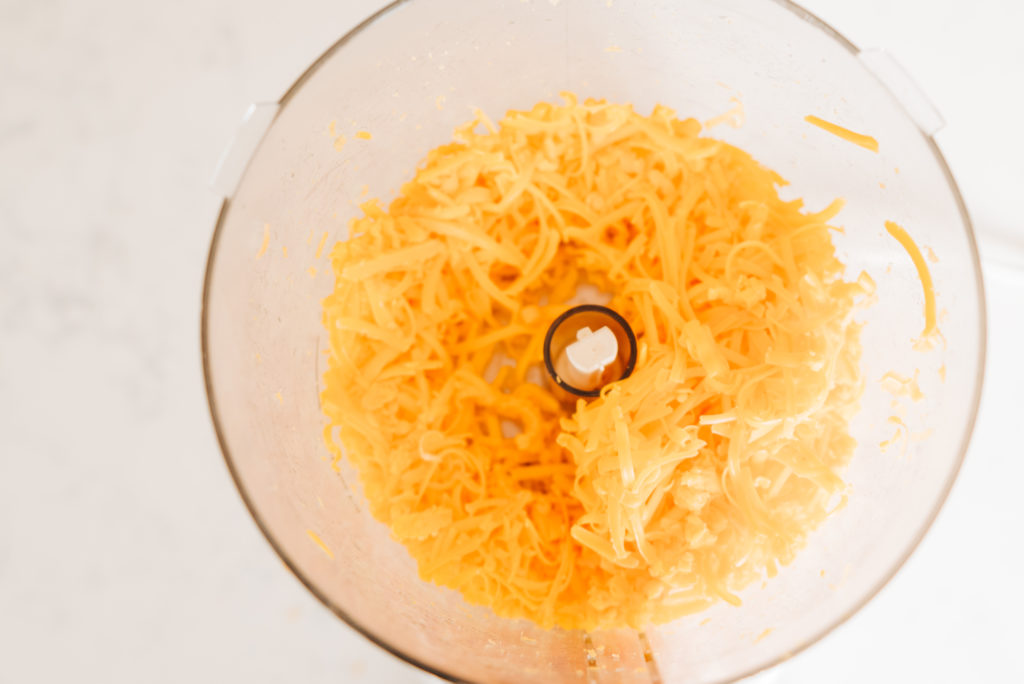
I like to grate my cheese in my food processor. Then I just switch out the grater to the blade. Less steps and less dishes. #win
It’s pretty hard to mess these up. I didn’t get the crumbles as incorporated as I should have (because my butter wasn’t as room temp as it should have been), but I just ran it longer when I added the milk and the dough came out fine.
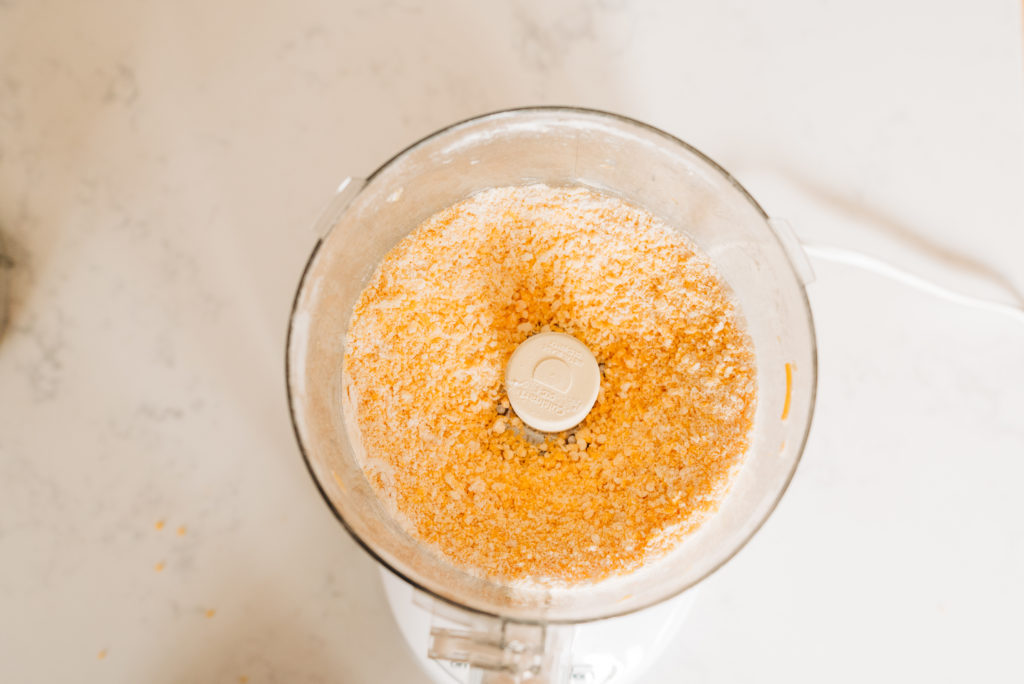
You don’t want to see the flour.
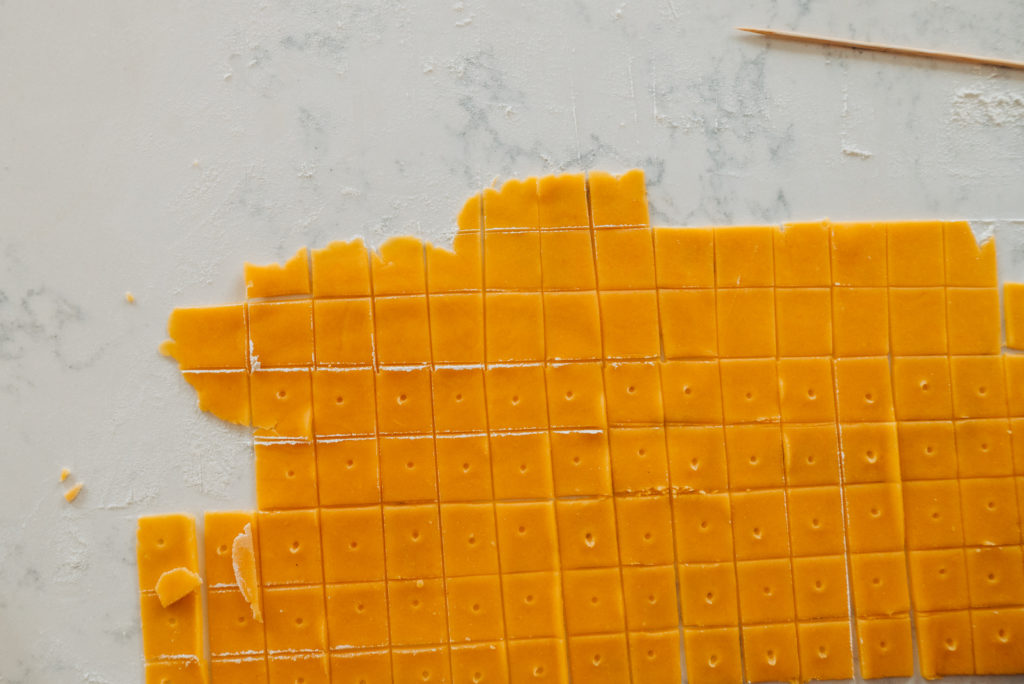
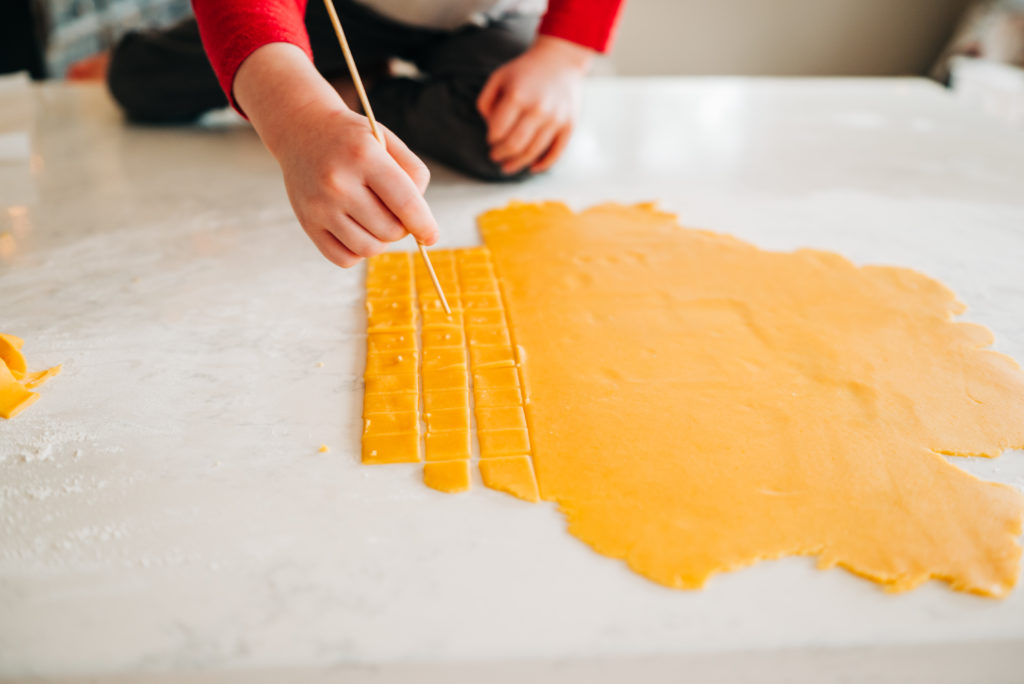
I have found that you want to roll the dough out as thin as humanly possible. Otherwise they end up puffy and a bit soft. The first few times I made these I borrowed my neighbor’s rolling pin (can you believe I don’t own a rolling pin?!). This time she wasn’t home so I used a wine bottle and it didn’t get them quite as thin and uniform as I’d like.
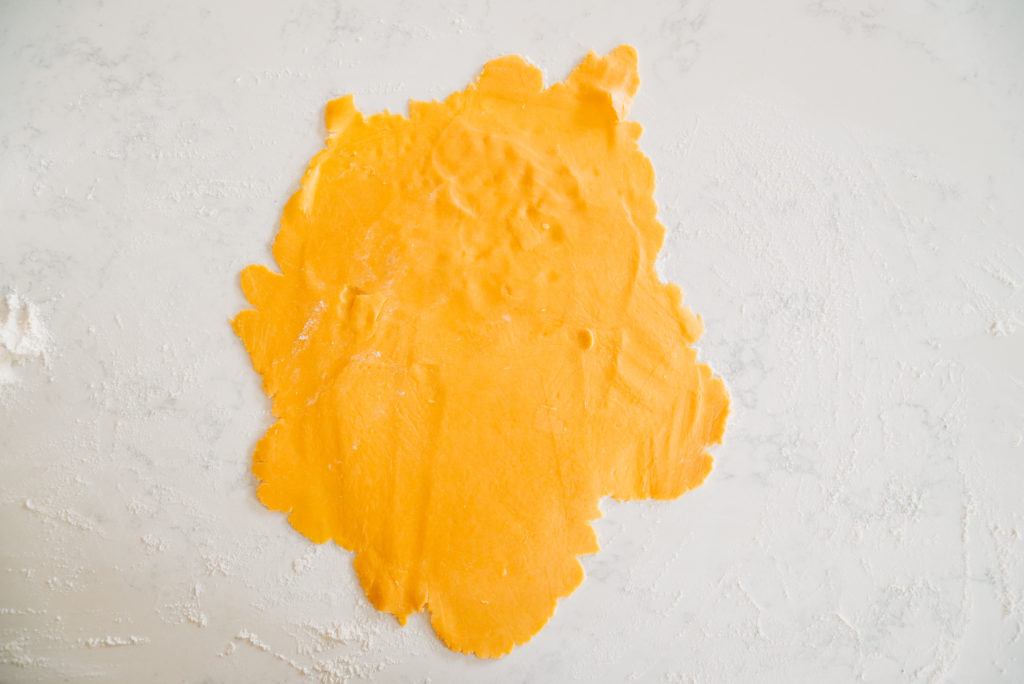
If your dough is a little too warm, the rolling pin might start tearing it or picking up little pieces. (You can see the pock marks and tears in this dough photo above.) When this happens, I fold it back up and put it into the fridge for 15-30 minutes. I also like doing this step because maybe it’s all in my head but I feel like it gives them more of a buttery layered texture and makes them crunchier.
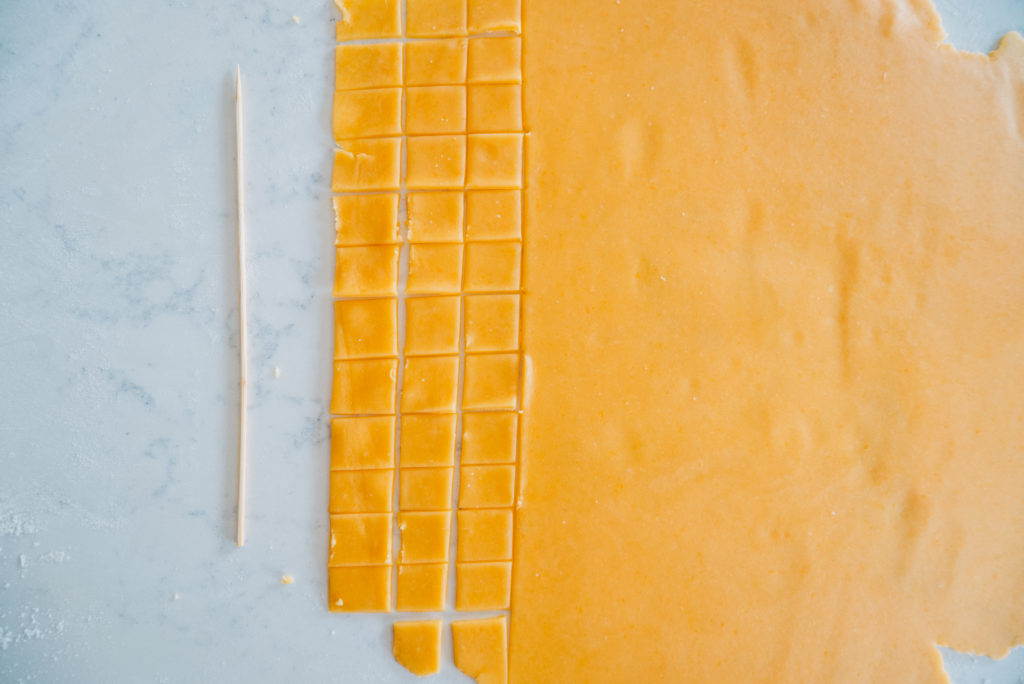
I use a bench scraper to cut my crackers, but you could use anything you like – if you have a teeny tiny fishy cookie cutter, you could make these into goldfish. But then you have to collect the scraps and re-roll them. To some, that may be no biggie but, I’m lazy.
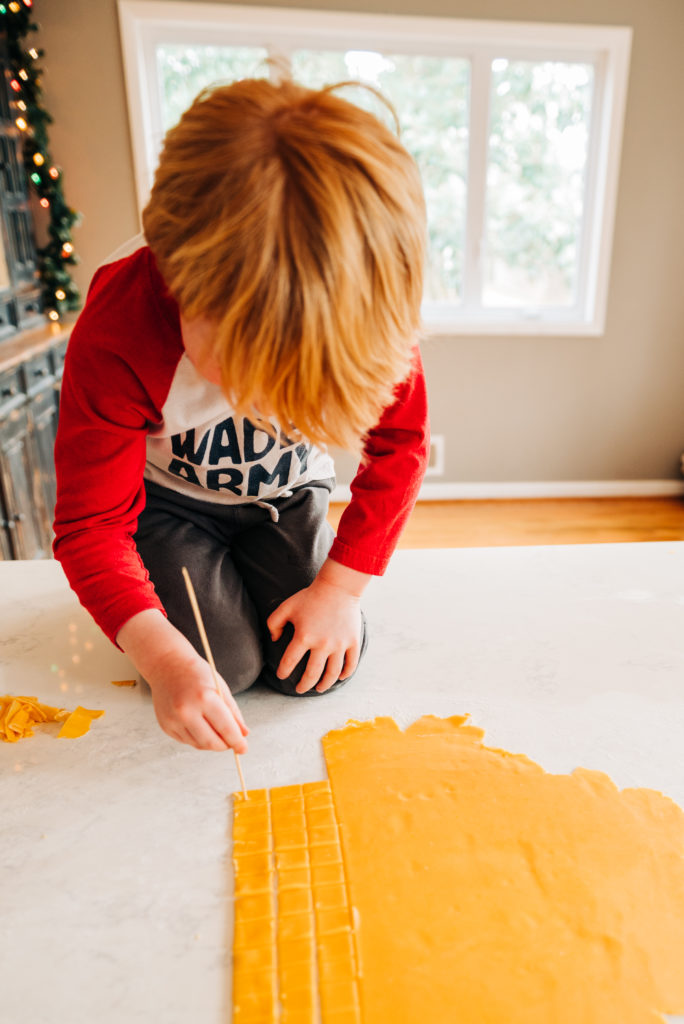
I use the back end of a wooden skewer to make the center holes. This keeps them from puffing up and it gets my son involved. He loves that this part is his job. (And I love that I am able to let go of my OCD tendencies that require the holes to be exactly in the center because his help is cuter than perfect looking crackers).
Recipe:
Ingredients :
- 5 oz. Extra Sharp Cheddar (the sharpest you can find), coarsely grated
- 3/4 c. flour (plus more for dusting the work surface)
- 4 tbsp. butter, diced and room temp. (I used salted)
- 1/4 tsp. onion powder
- 1/8- 1/4 tsp. salt (I’ve been using Diamond kosher lately which is much less salty than the Morton’s that I typically use, so if you’re using something else you might want less.)
- 1 tbsp. milk
- extra salt for sprinkling
Directions
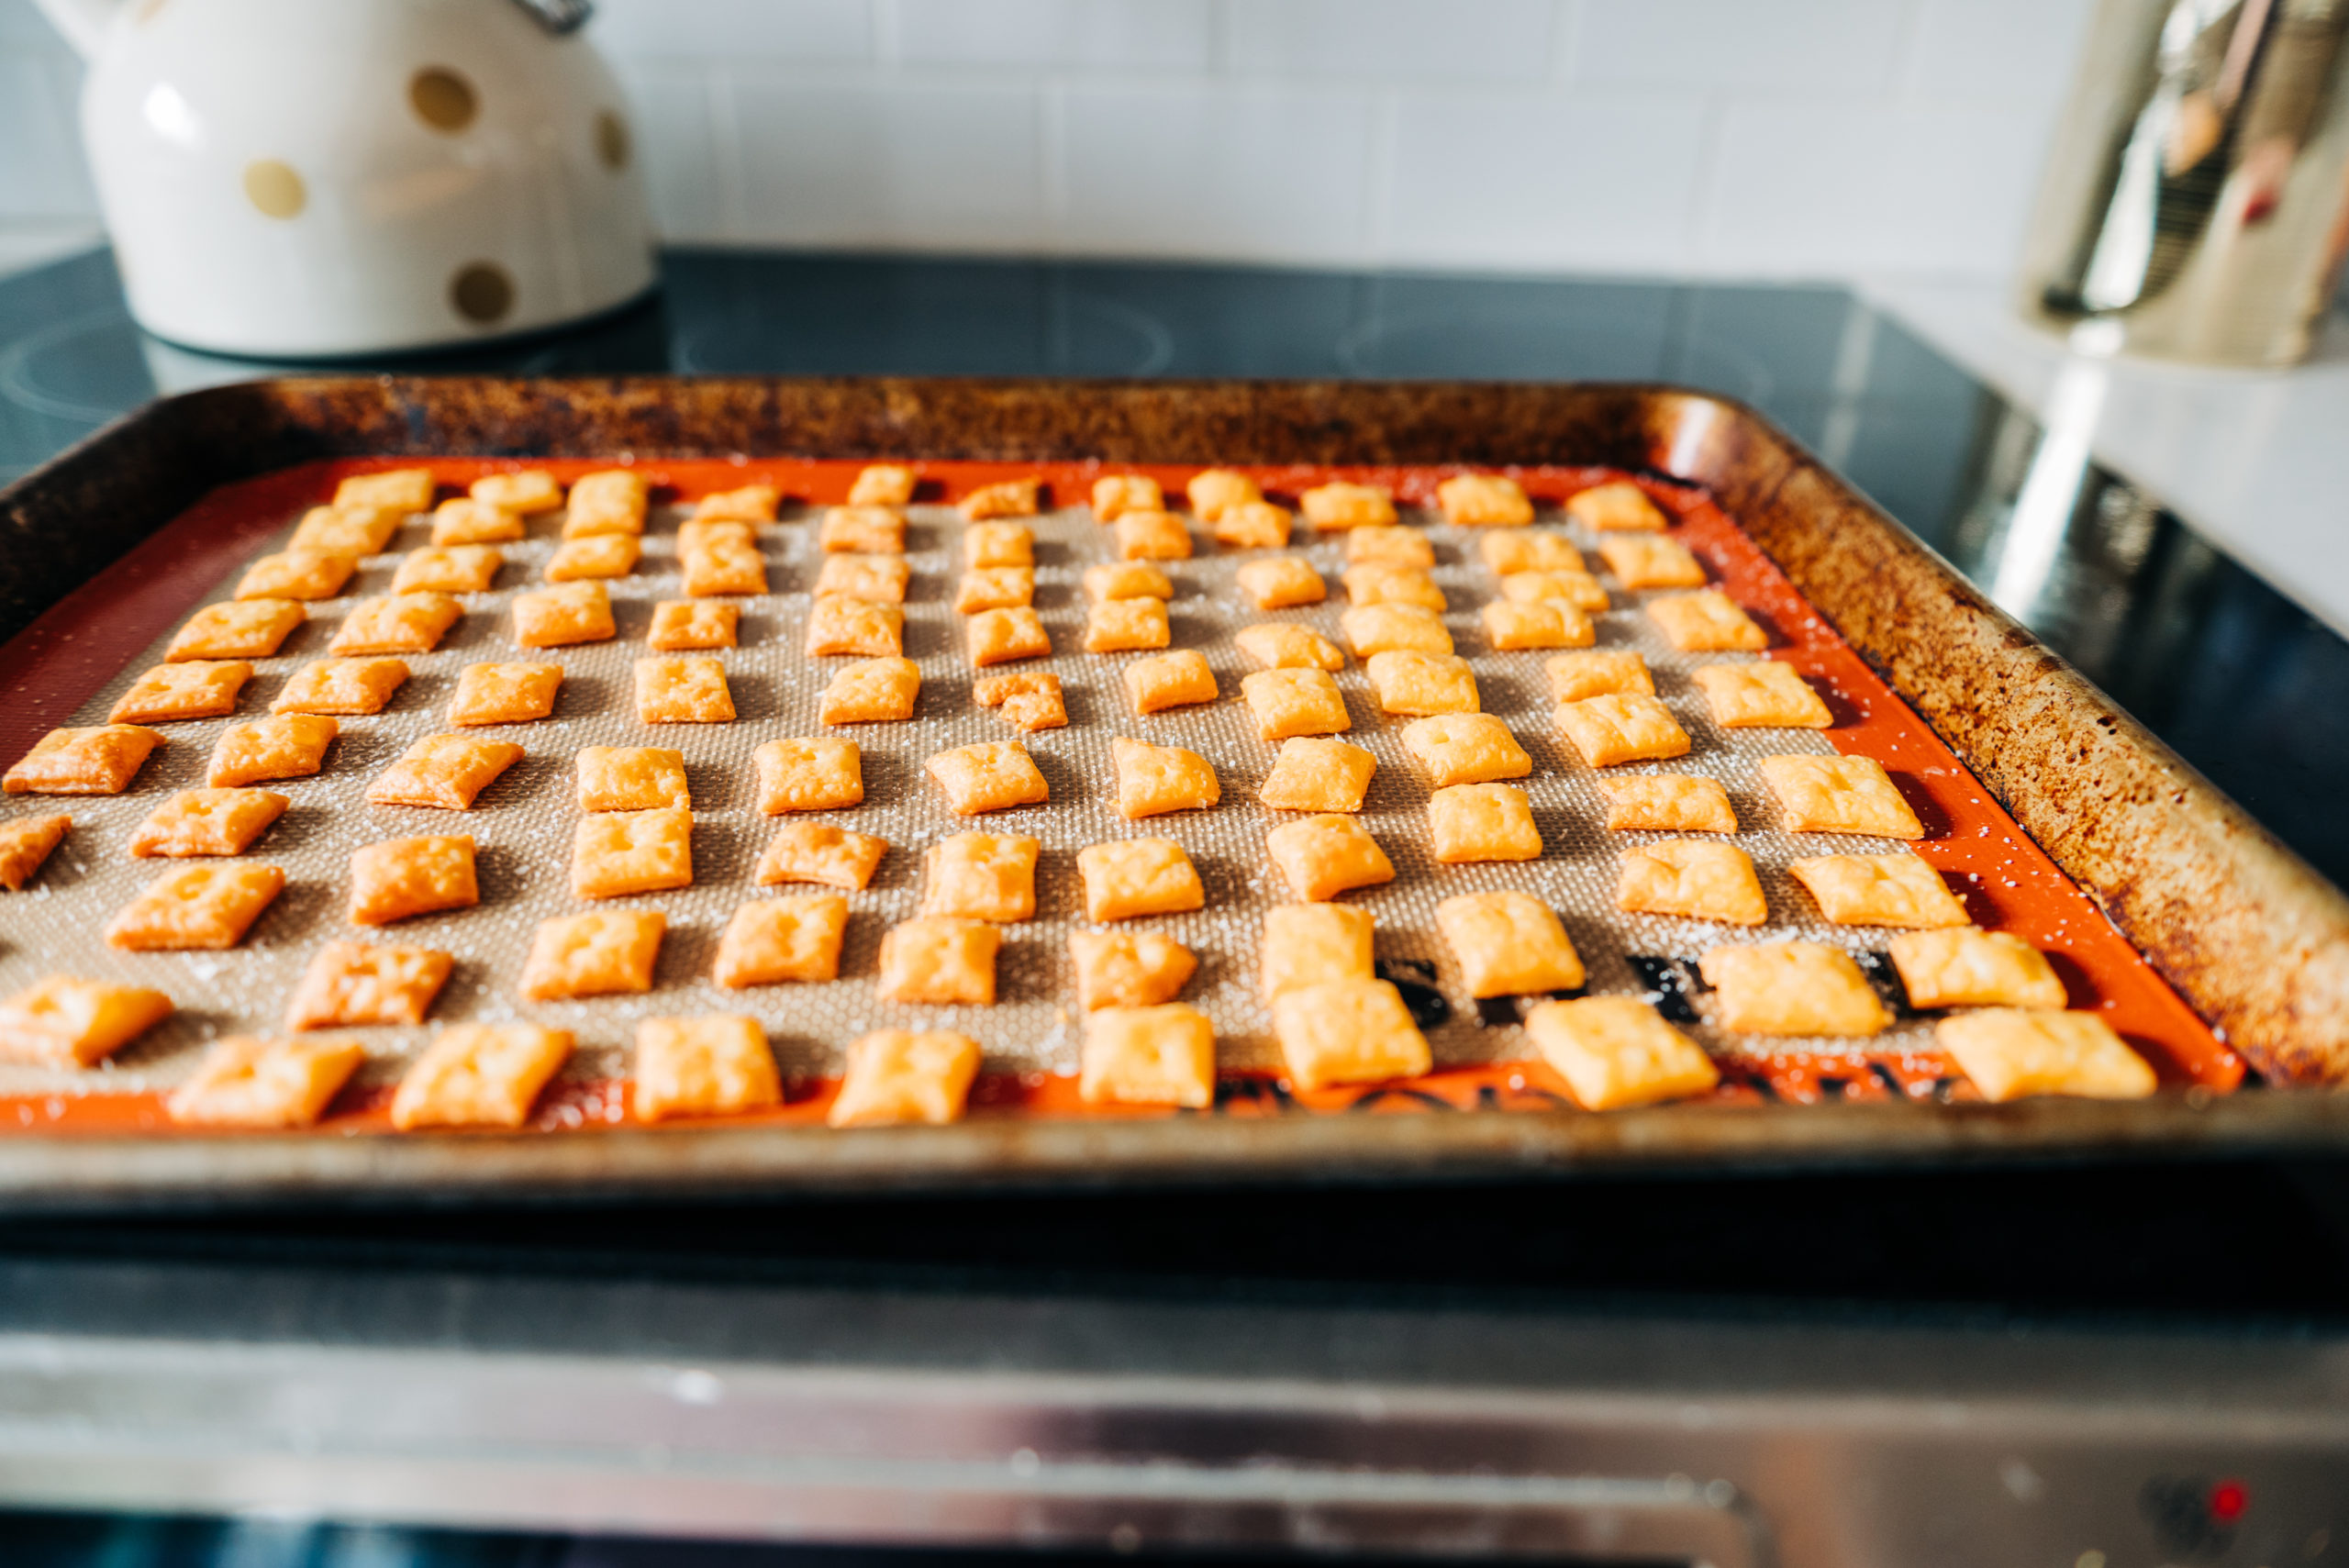
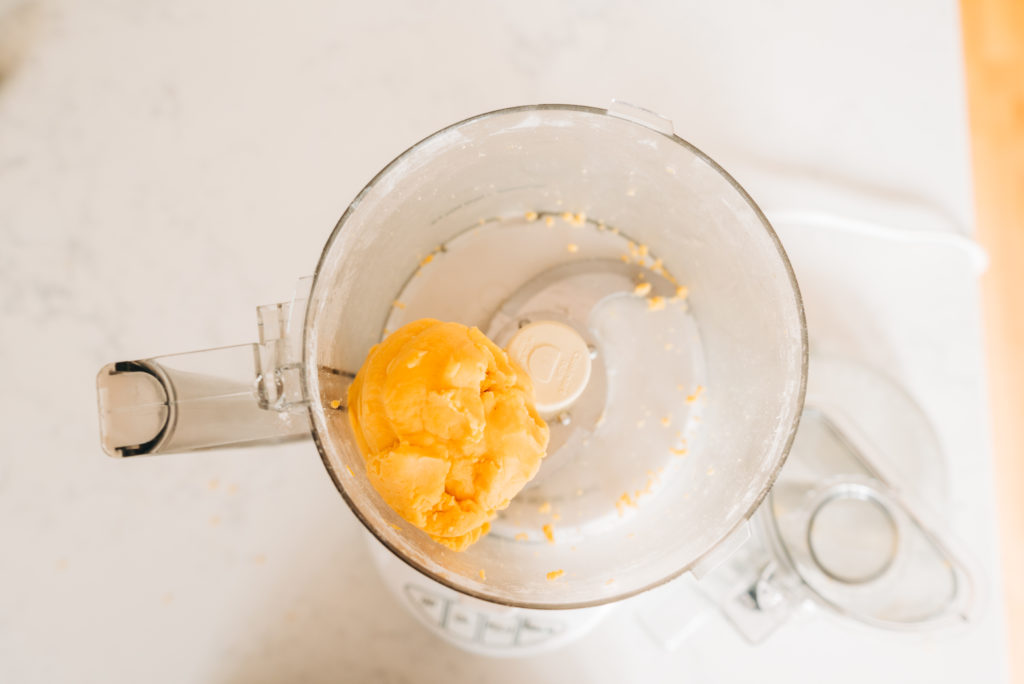
Preheat oven to 350. Cover a baking sheet with parchment or a silicone baking mat. Add cheese, butter, flour, salt and onion powder to the bowl of a food processor fitted with the blade. Pulse in short bursts until it’s all crumbly and incorporated (you shouldn’t see the flour). Add the tablespoon of milk and run the processor until a dough ball forms (about 10 seconds or so). Lightly flour your work surface and the rolling pin. Roll the dough out as thin as you can, and cut into whatever shapes you like (if you’re having trouble rolling the dough out chill it for 20-30 minutes and try again). Poke a hole in each cracker with the back end of a skewer (or something else poke-y). Spread them out on the prepared baking sheet and salt lightly. Bake at 350 for 12-15 minutes til lightly golden. Let cool, and, if you’re like us, devour the entire batch in under an hour.